How To Make Distant Horizon Render Far: A Comprehensive Guide
Are you struggling with rendering distant horizons in your digital artwork or 3D models? This guide on how to make distant horizon render far will provide you with techniques that can enhance your visual projects significantly. Rendering distant horizons can be challenging, especially if you want to create a realistic and immersive experience for your audience. By understanding the principles of perspective, atmospheric effects, and technical adjustments, you can achieve stunning results.
In this article, we will explore various methods and best practices that can help you render distant horizons effectively. Whether you are an amateur artist or a seasoned professional, the tips and techniques provided here will elevate your rendering skills. We will also touch on tools and software that can aid in achieving the desired results, ensuring that you have a comprehensive understanding of the subject.
Let's dive into the world of rendering distant horizons and discover how you can enhance the depth and realism of your artwork. With the right techniques, you can transform flat backgrounds into captivating scenes that draw viewers in.
Table of Contents
Understanding Perspective in Rendering
To effectively render distant horizons, it's crucial to grasp the concept of perspective. Perspective refers to the way objects appear smaller as they get further away from the viewer. Here are some key points to consider:
- Use linear perspective to create depth. This involves using vanishing points where parallel lines converge.
- Implement atmospheric perspective by modifying color saturation and brightness to simulate distance.
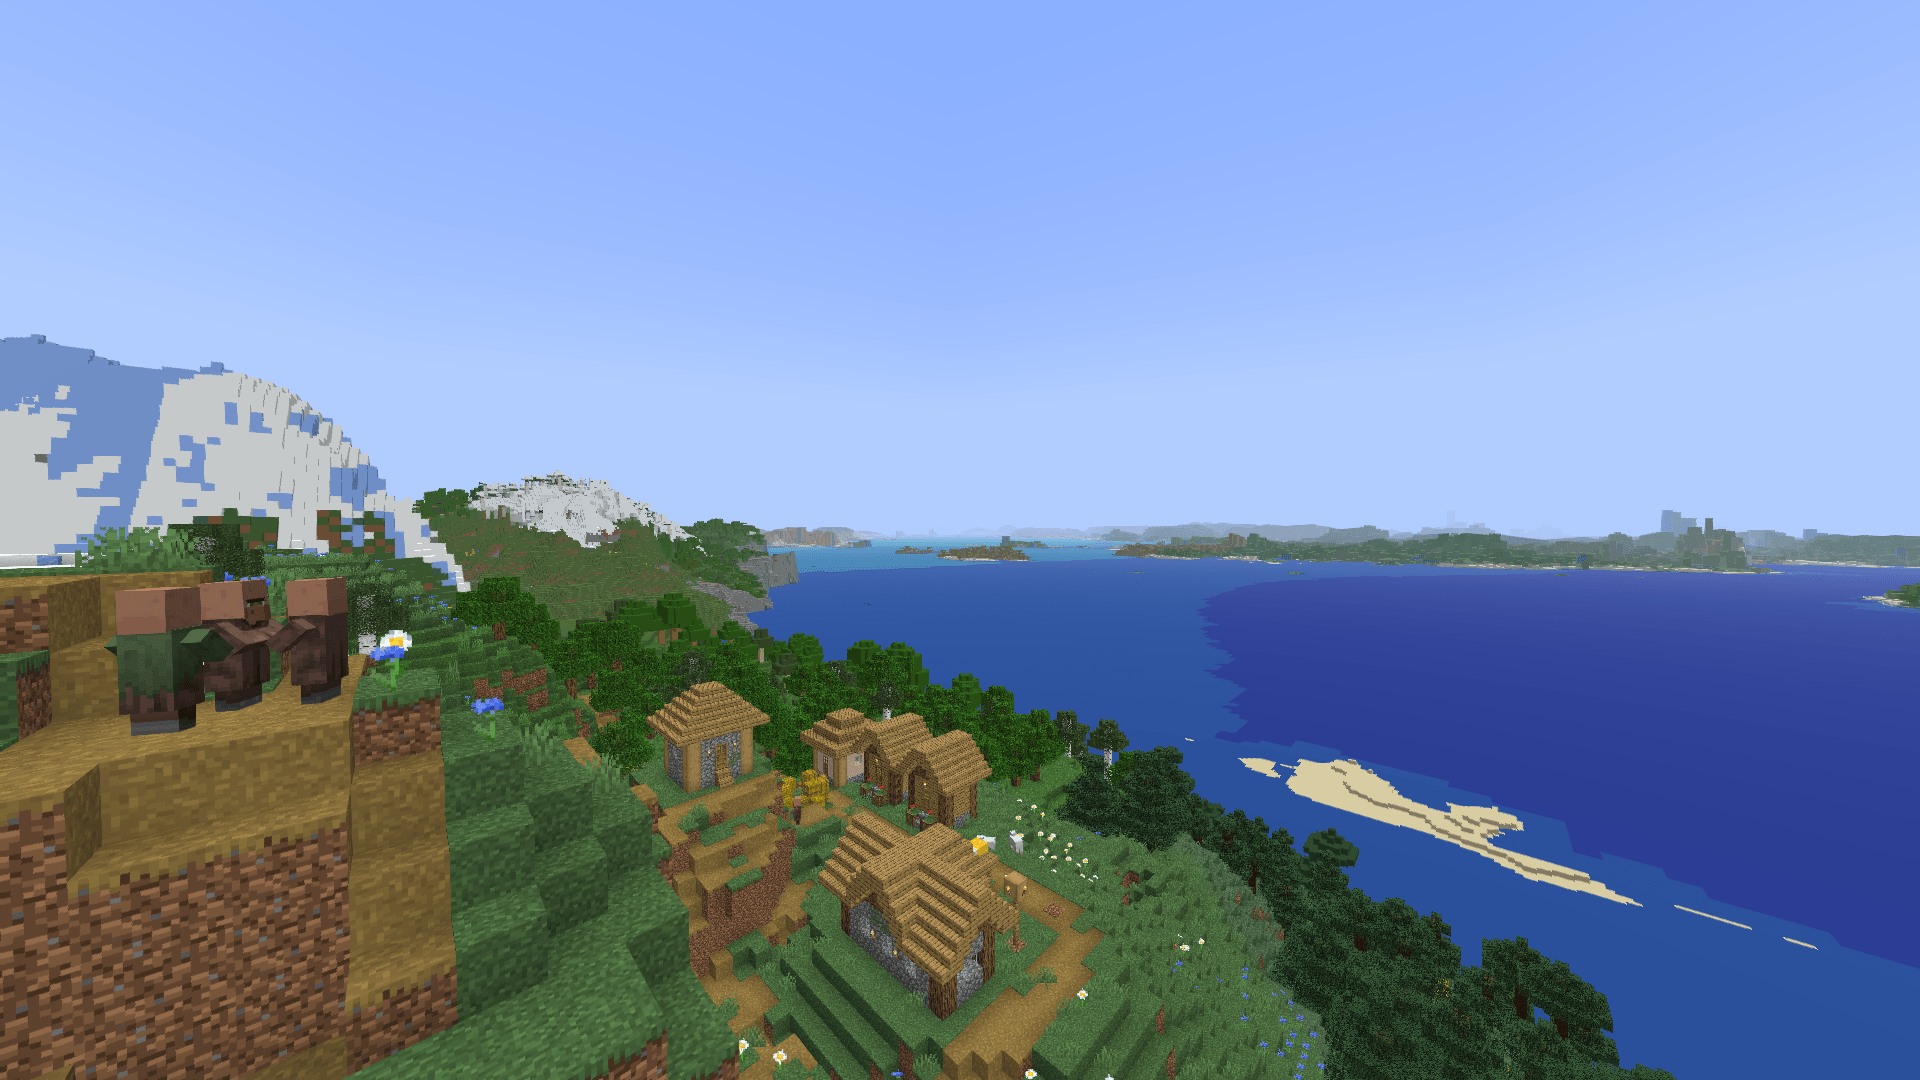
- Understand the horizon line and its placement, as it plays a significant role in the perception of depth.
The Role of Vanishing Points
Vanishing points are essential in creating a realistic horizon. By positioning your vanishing points correctly, you can create a more accurate representation of space:
- Single-point perspective is effective for straight roads or railway tracks.
- Two-point perspective works well for architectural scenes.
- Three-point perspective adds drama and height to your composition.
Incorporating Atmospheric Effects
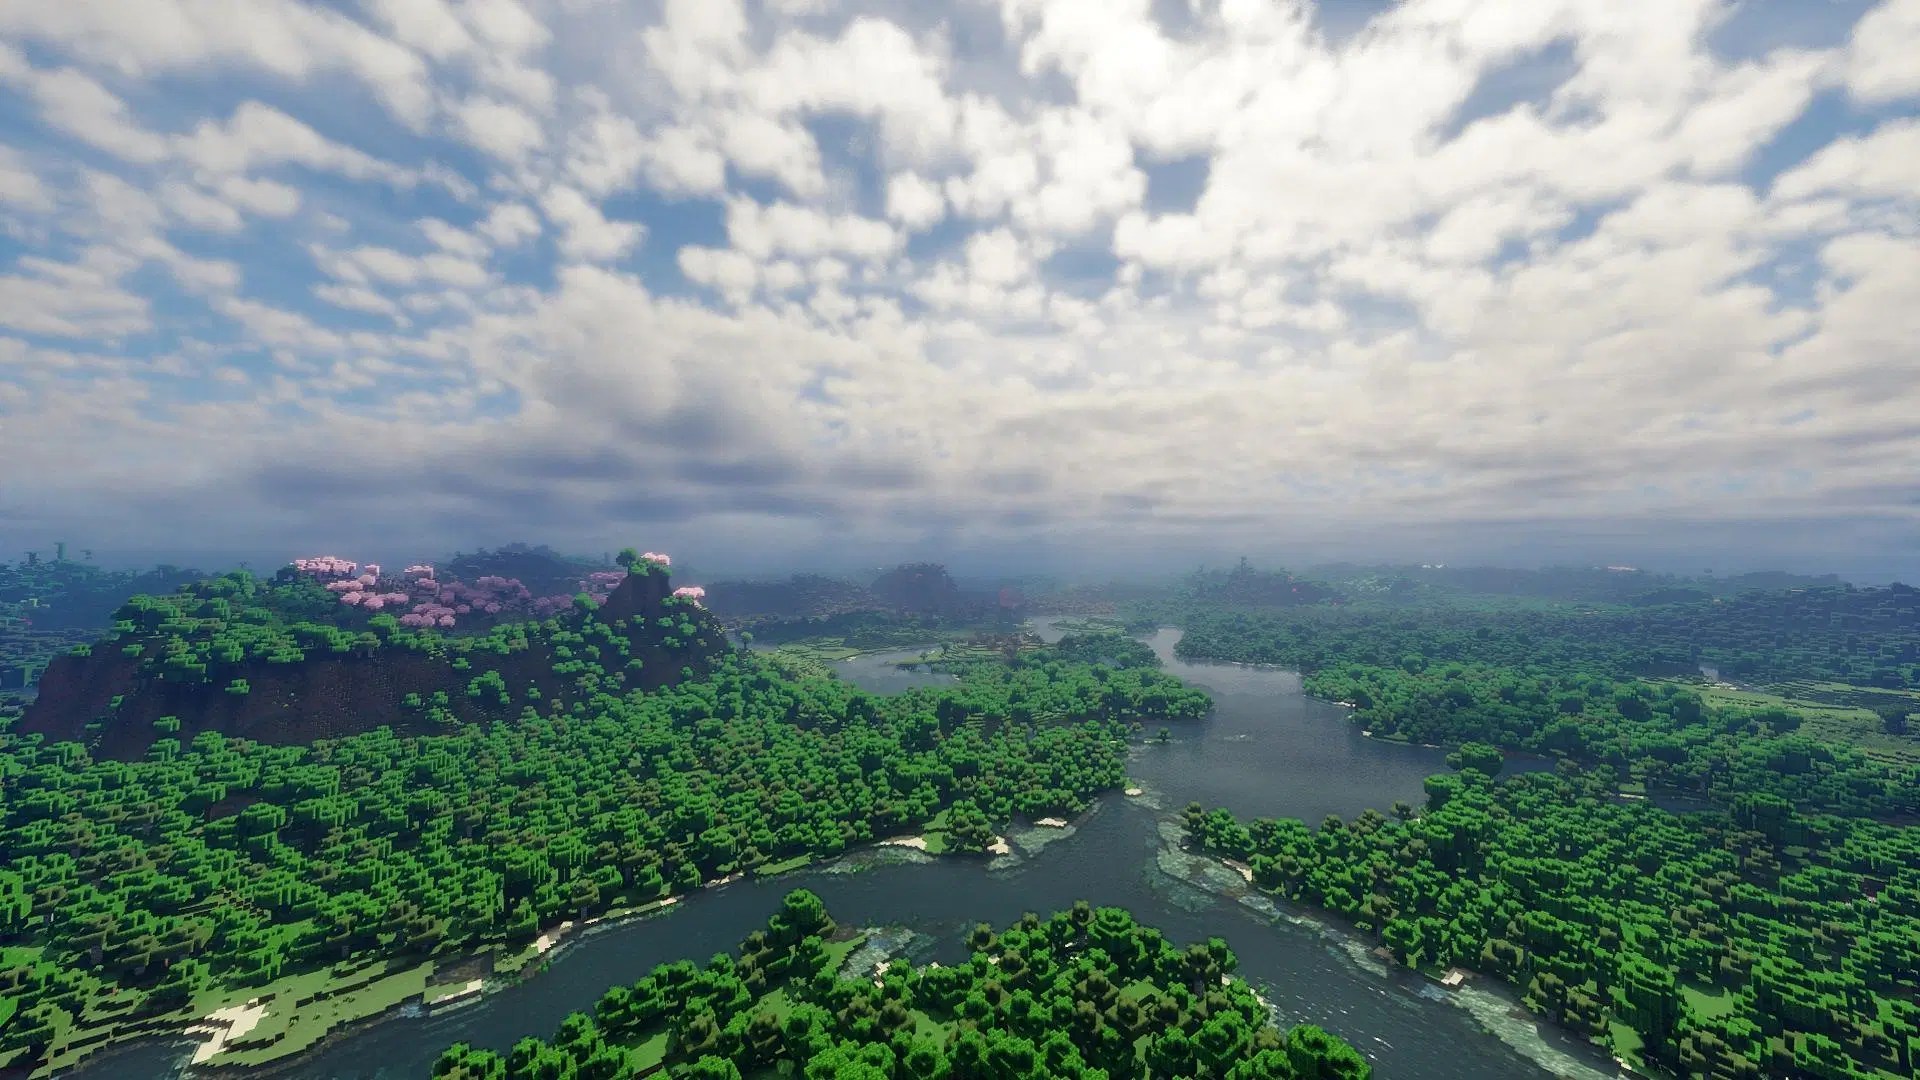
Atmospheric effects are vital when rendering distant horizons. They help simulate how distance alters the appearance of objects:
- Fading colors: Distant objects often appear lighter and less saturated. Use a gradient to achieve this effect.
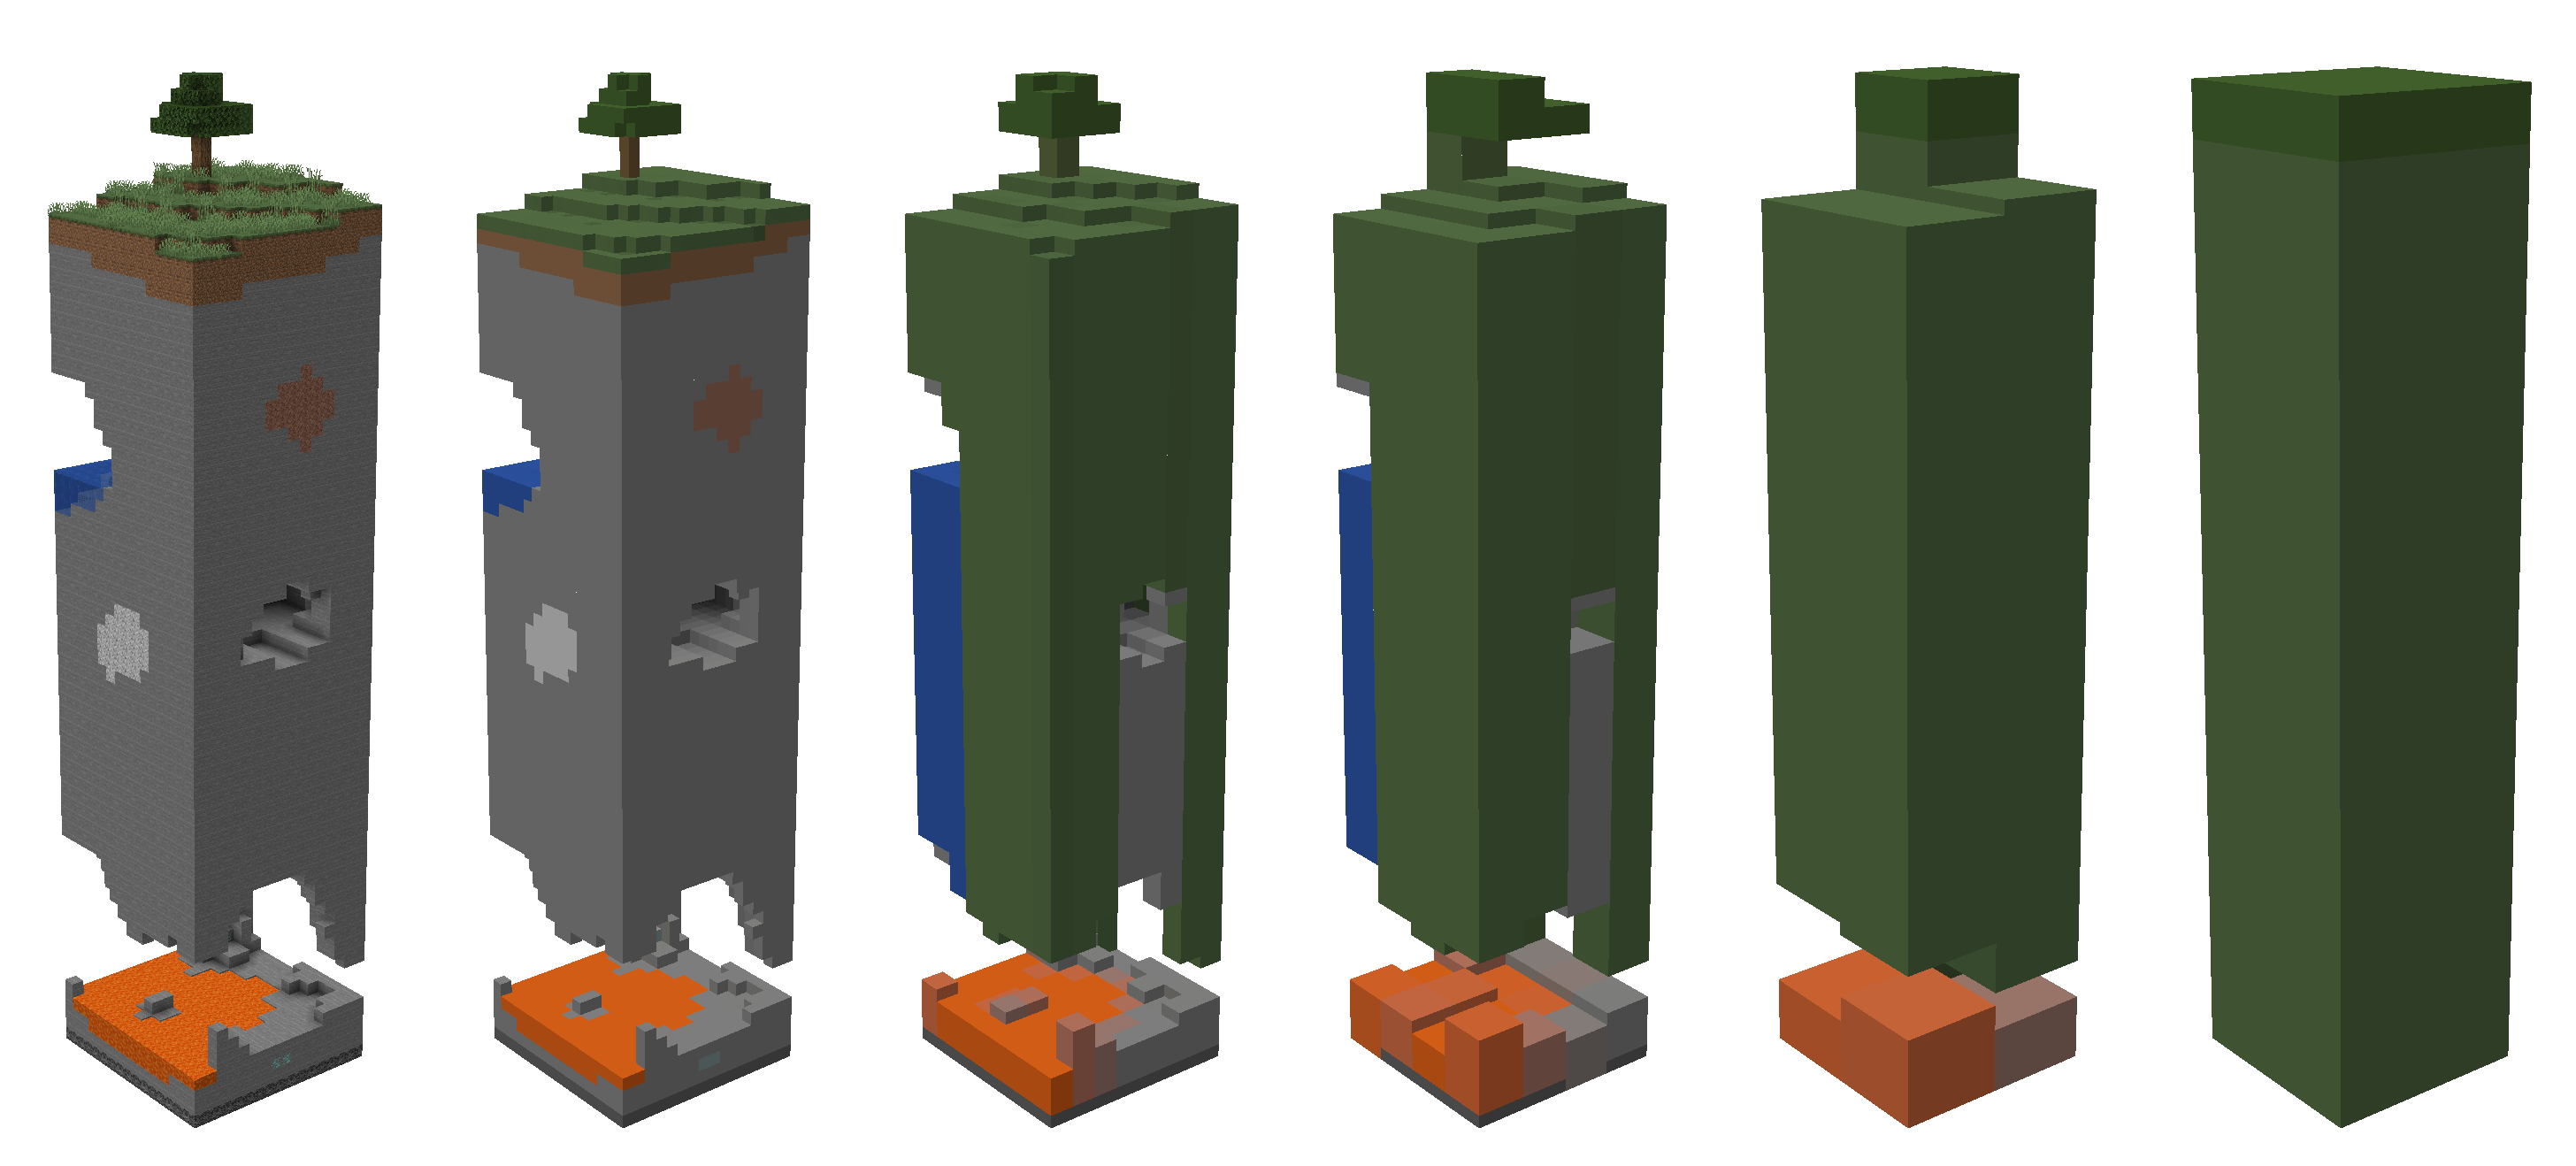
- Softening edges: Distant objects should have less detail and sharper edges. Blurring can help create this illusion.
- Color temperature: Warmer colors tend to recede in the background, while cooler colors come forward. Adjust your color palette accordingly.
Creating Depth with Layers
Layering is an effective technique to add depth to your horizon:
- Foreground elements should be detailed and bright.
- Midground elements can be less detailed but should maintain some contrast.
- Background elements should be muted and soft.
Adjusting Technical Settings
The technical settings of your rendering software play a significant role in how distant horizons appear. Consider the following:
- Field of view (FOV): A wider FOV can create a more immersive experience, making distant elements more pronounced.
- Camera settings: Adjusting the camera angle can enhance the perspective and depth of field.
- Rendering resolution: Higher resolution improves the clarity of distant elements, making them more realistic.
Optimal Lighting Conditions
Lighting dramatically affects how a scene is perceived:
- Use soft lighting to mimic the natural progression of light over distance.
- Experiment with shadows to create a sense of dimension and ground your elements.
Choosing the right software can greatly aid your rendering process. Here are some popular tools:
- Blender: A free, open-source 3D creation suite that supports everything from modeling to rendering.
- Autodesk Maya: Known for its powerful rendering capabilities and flexibility in handling complex scenes.
- Adobe Photoshop: Ideal for post-processing and enhancing your rendered images.
Plugins and Add-ons
Consider utilizing plugins that can enhance your rendering capabilities:
- V-Ray for realistic rendering in various software packages.
- Octane Render for GPU-accelerated rendering.
Practical Examples of Distant Horizons
Learning by example can be incredibly beneficial. Here are some scenarios where rendering distant horizons is applied:
- Landscape Paintings: Artists often incorporate distant horizons to create a sense of vastness.
- Architectural Visualization: Architects use distant horizons to showcase perspective in designs.
- Game Design: Developers render expansive worlds where distant horizons enhance gameplay immersion.
Case Study: A Landscape Scene
Consider a digital painting of a sunset over a mountain range:
- Foreground: Detailed trees and rocks.
- Midground: Rolling hills with softer details.
- Background: Distant mountains fading into the sunset.
Common Mistakes to Avoid
Even experienced artists can fall into traps when rendering distant horizons. Here are some common mistakes:
- Overly detailed distant objects that break the illusion of depth.
- Ignoring color and brightness adjustments for distance, leading to a flat appearance.
- Incorrect vanishing points that skew perspective.
Tips for Avoiding Mistakes
To avoid these pitfalls:
- Regularly step back and assess your composition from a distance.
- Seek feedback from peers to gain fresh perspectives on your work.
Expert Tips for Better Rendering
Here are some expert tips to refine your distant horizon rendering skills:
- Study real-world landscapes and take notes on how distance affects colors and details.
- Practice regularly and experiment with different styles and techniques.
- Utilize reference images to guide your rendering process.
Building a Resource Library
Create a library of resources, including:
- Reference images of landscapes.
- Tutorial videos on rendering techniques.
- Books on perspective and color theory.
Conclusion
Rendering distant horizons can be a complex yet rewarding endeavor. By understanding perspective, incorporating atmospheric effects, and adjusting your technical settings, you can create stunning visual scenes that captivate your audience. Remember to utilize the right software tools and avoid common mistakes to enhance your skills further.
Feel free to share your thoughts in the comments below or explore other articles on our site for more tips and techniques on digital art and rendering.
Thank you for reading, and we hope to see you back for more insightful content!
Also Read
Article Recommendations
ncG1vNJzZmivp6x7tMHRr6CvmZynsrS71KuanqtemLyue9KtmKtlpJ64tbvKcGahp6diwbB5zJqinmWUnsC1rc2tZKGnop7HsLqMq5ynnJWneqet0WefraWc