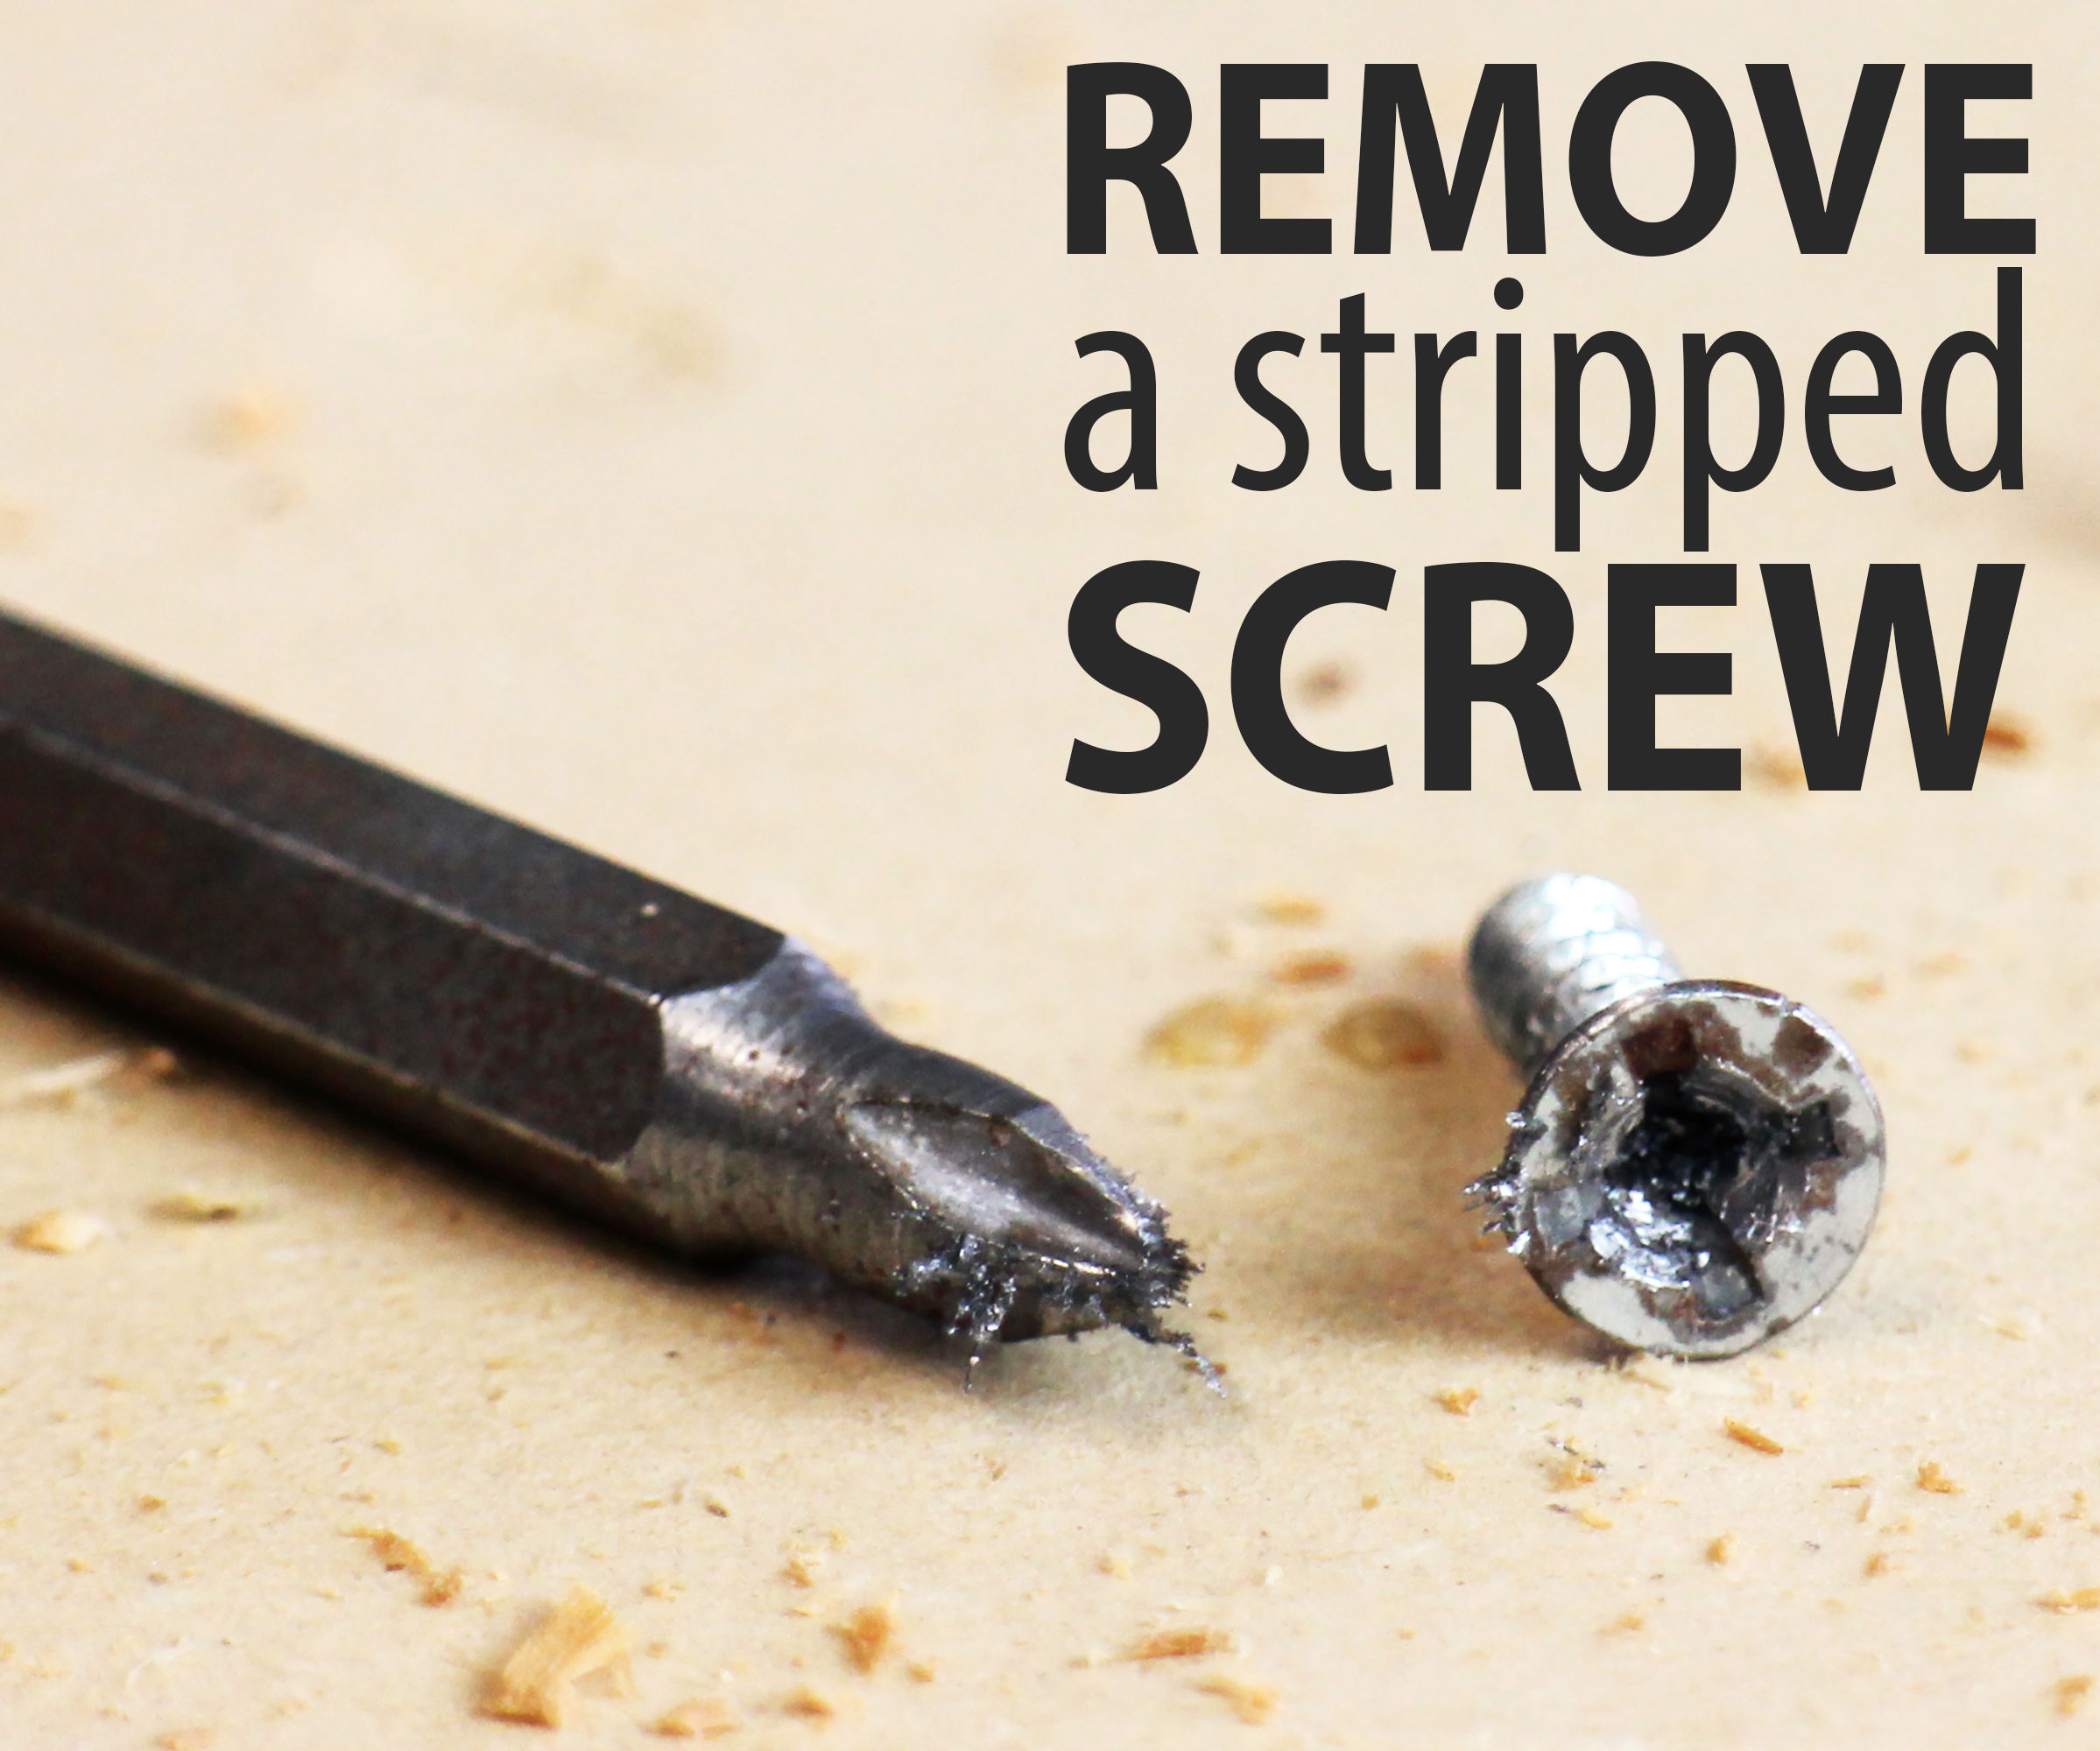
How To Remove Stripped Screws: A Comprehensive Guide
Stripped screws can be a frustrating problem for any DIY enthusiast or home repair specialist. Whether you're working on a furniture assembly, a car repair, or a household fix, encountering a stripped screw can halt your progress. Understanding how to remove stripped screws efficiently is essential to keeping your projects on track and avoiding unnecessary damage. In this article, we will explore various methods and tools that can help you tackle this common issue effectively.
In addition to practical methods, we will discuss the importance of using the right tools and techniques to prevent stripping screws in the future. This guide is designed to provide you with expert tips and best practices, ensuring that you are well-equipped to handle stripped screws whenever they arise. By the end of this article, you will have a clear understanding of how to remove stripped screws and avoid this problem in the future.
So, whether you're facing a stubborn screw that just won't budge or you're looking to enhance your skills for future projects, keep reading to discover everything you need to know about removing stripped screws.
Table of Contents
Understanding Stripped Screws
A stripped screw is one that has lost its gripping ability due to damage to the head or the threads. This can make it impossible to unscrew using standard methods. Stripped screws can occur in various materials, including wood, metal, and plastic. Understanding the nature of stripped screws is crucial for determining the best method for removal.
Common Causes of Stripping
Stripped screws can result from several common factors, including:
- Using the wrong size or type of screwdriver.
- Applying too much force while turning the screw.
- Using worn-out tools that do not fit snugly.
- Corrosion or rust that weakens the screw material.
Before attempting to remove a stripped screw, it's essential to have the right tools on hand. Here are some tools that may be helpful:
- Rubber bands or elastic bands.
- Screw extractors.
- Drill and drill bits.
- Pliers (needle-nose or locking).
- Hammer (for tapping a screwdriver).
Methods to Remove Stripped Screws
There are several effective methods for removing stripped screws. Each method may work better depending on the specific situation and the level of stripping.
Rubber Band Method
The rubber band method is one of the simplest and quickest ways to remove a stripped screw. Here's how to do it:
The rubber band provides extra grip and can help the screwdriver catch the stripped edges of the screw.
Screw Extractor Method
If the rubber band method fails, consider using a screw extractor. This specialized tool is designed for removing stripped screws. Follow these steps:
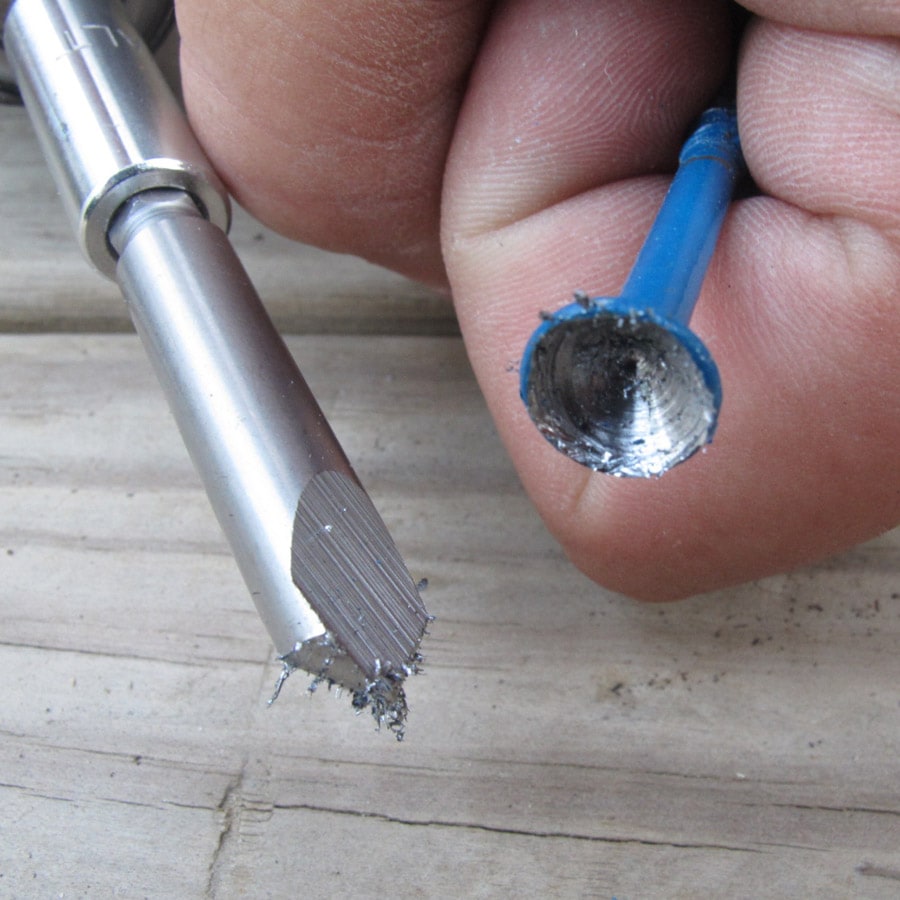
Drilling Out the Screw
If all else fails, drilling out the screw may be necessary. Here’s how to do it:
Be cautious not to damage the surrounding material.
Using Pliers
If the screw head is exposed, you can sometimes use pliers to turn the screw. Here’s how:
This method is often effective for screws with stripped heads but visible sections.
Preventing Screw Stripping
To avoid the frustration of stripped screws in the future, consider the following tips:
- Always use the correct size and type of screwdriver for the screw.
- Avoid over-tightening screws.
- Inspect tools regularly for wear and tear.
- Consider using anti-corrosion sprays on screws to prevent rust.
When to Call a Professional
In some situations, it may be best to call a professional, especially if:
- The screw is located in a sensitive area that requires special tools.
- You are dealing with expensive or delicate materials.
- Multiple screws are stripped, complicating the repair process.
Conclusion
In summary, knowing how to remove stripped screws is an invaluable skill for anyone involved in DIY projects or maintenance. By understanding the common causes of stripping and utilizing the various methods outlined in this guide, you can tackle stripped screws with confidence. Remember to use the right tools and techniques to prevent stripping in the first place. If you have any questions or additional tips, feel free to leave a comment below or share this article with others who might find it helpful.
Thank you for reading, and we hope you return to our site for more expert advice on home improvement and DIY projects!
Also Read
Article Recommendations

ncG1vNJzZmivp6x7tMHRr6CvmZynsrS71KuanqtemLyue9WiqZqko6q9pr7SrZirq2FlfKm71marqGWimrqwwsRmqq2qmaW9prCMrJqrnaeoe6nAzKU%3D