The Ultimate Guide To Strong Adhesion
Liquid Nails is a powerful adhesive that has become a favorite among DIY enthusiasts and professionals alike. This versatile construction adhesive offers a strong bond for a variety of materials, making it an essential tool for both home improvement projects and industrial applications. In this comprehensive guide, we will explore everything you need to know about Liquid Nails, including its uses, types, application methods, and safety precautions.
Whether you're planning to do some home renovations or tackle a craft project, understanding the features and benefits of Liquid Nails can help you achieve the best results. This article will delve deep into the world of Liquid Nails, providing you with valuable insights and tips that will enhance your adhesive skills. With the right knowledge, you can make informed decisions and ensure your projects stand the test of time.
From its inception to its current applications, Liquid Nails has proven to be a reliable adhesive solution. This article aims to inform readers about the various aspects of Liquid Nails, ensuring that you leave equipped with the knowledge to use it effectively and safely. Let’s dive into the details!
Table of Contents
What is Liquid Nails?
Liquid Nails is a brand of construction adhesive that offers superior bonding capabilities for various materials, including wood, metal, concrete, and more. It is known for its flexibility, durability, and resistance to water and extreme temperatures. Originally developed for construction purposes, Liquid Nails has found its way into homes and businesses, making it a go-to choice for both professionals and DIYers.
Types of Liquid Nails
Liquid Nails comes in several formulations tailored to specific applications. Here are some of the most common types:
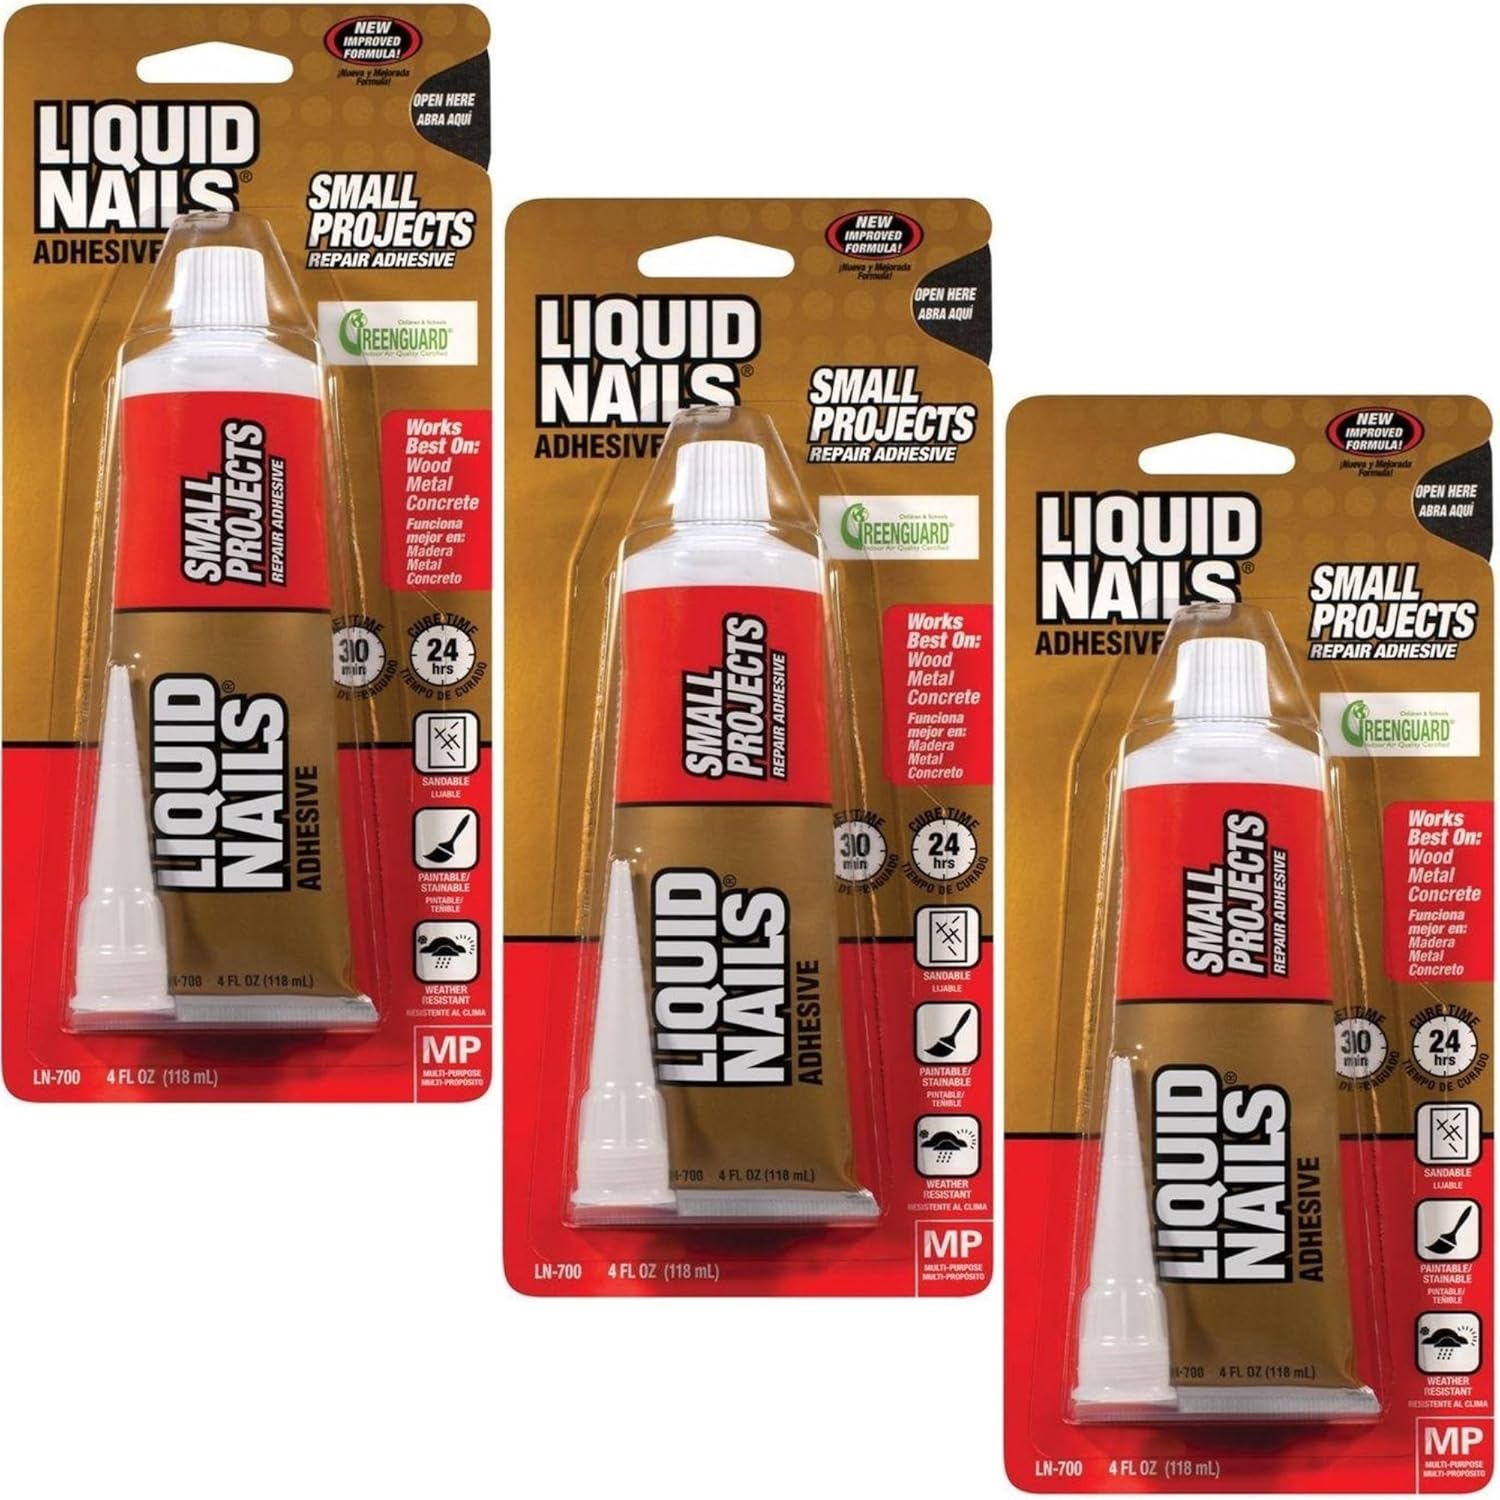
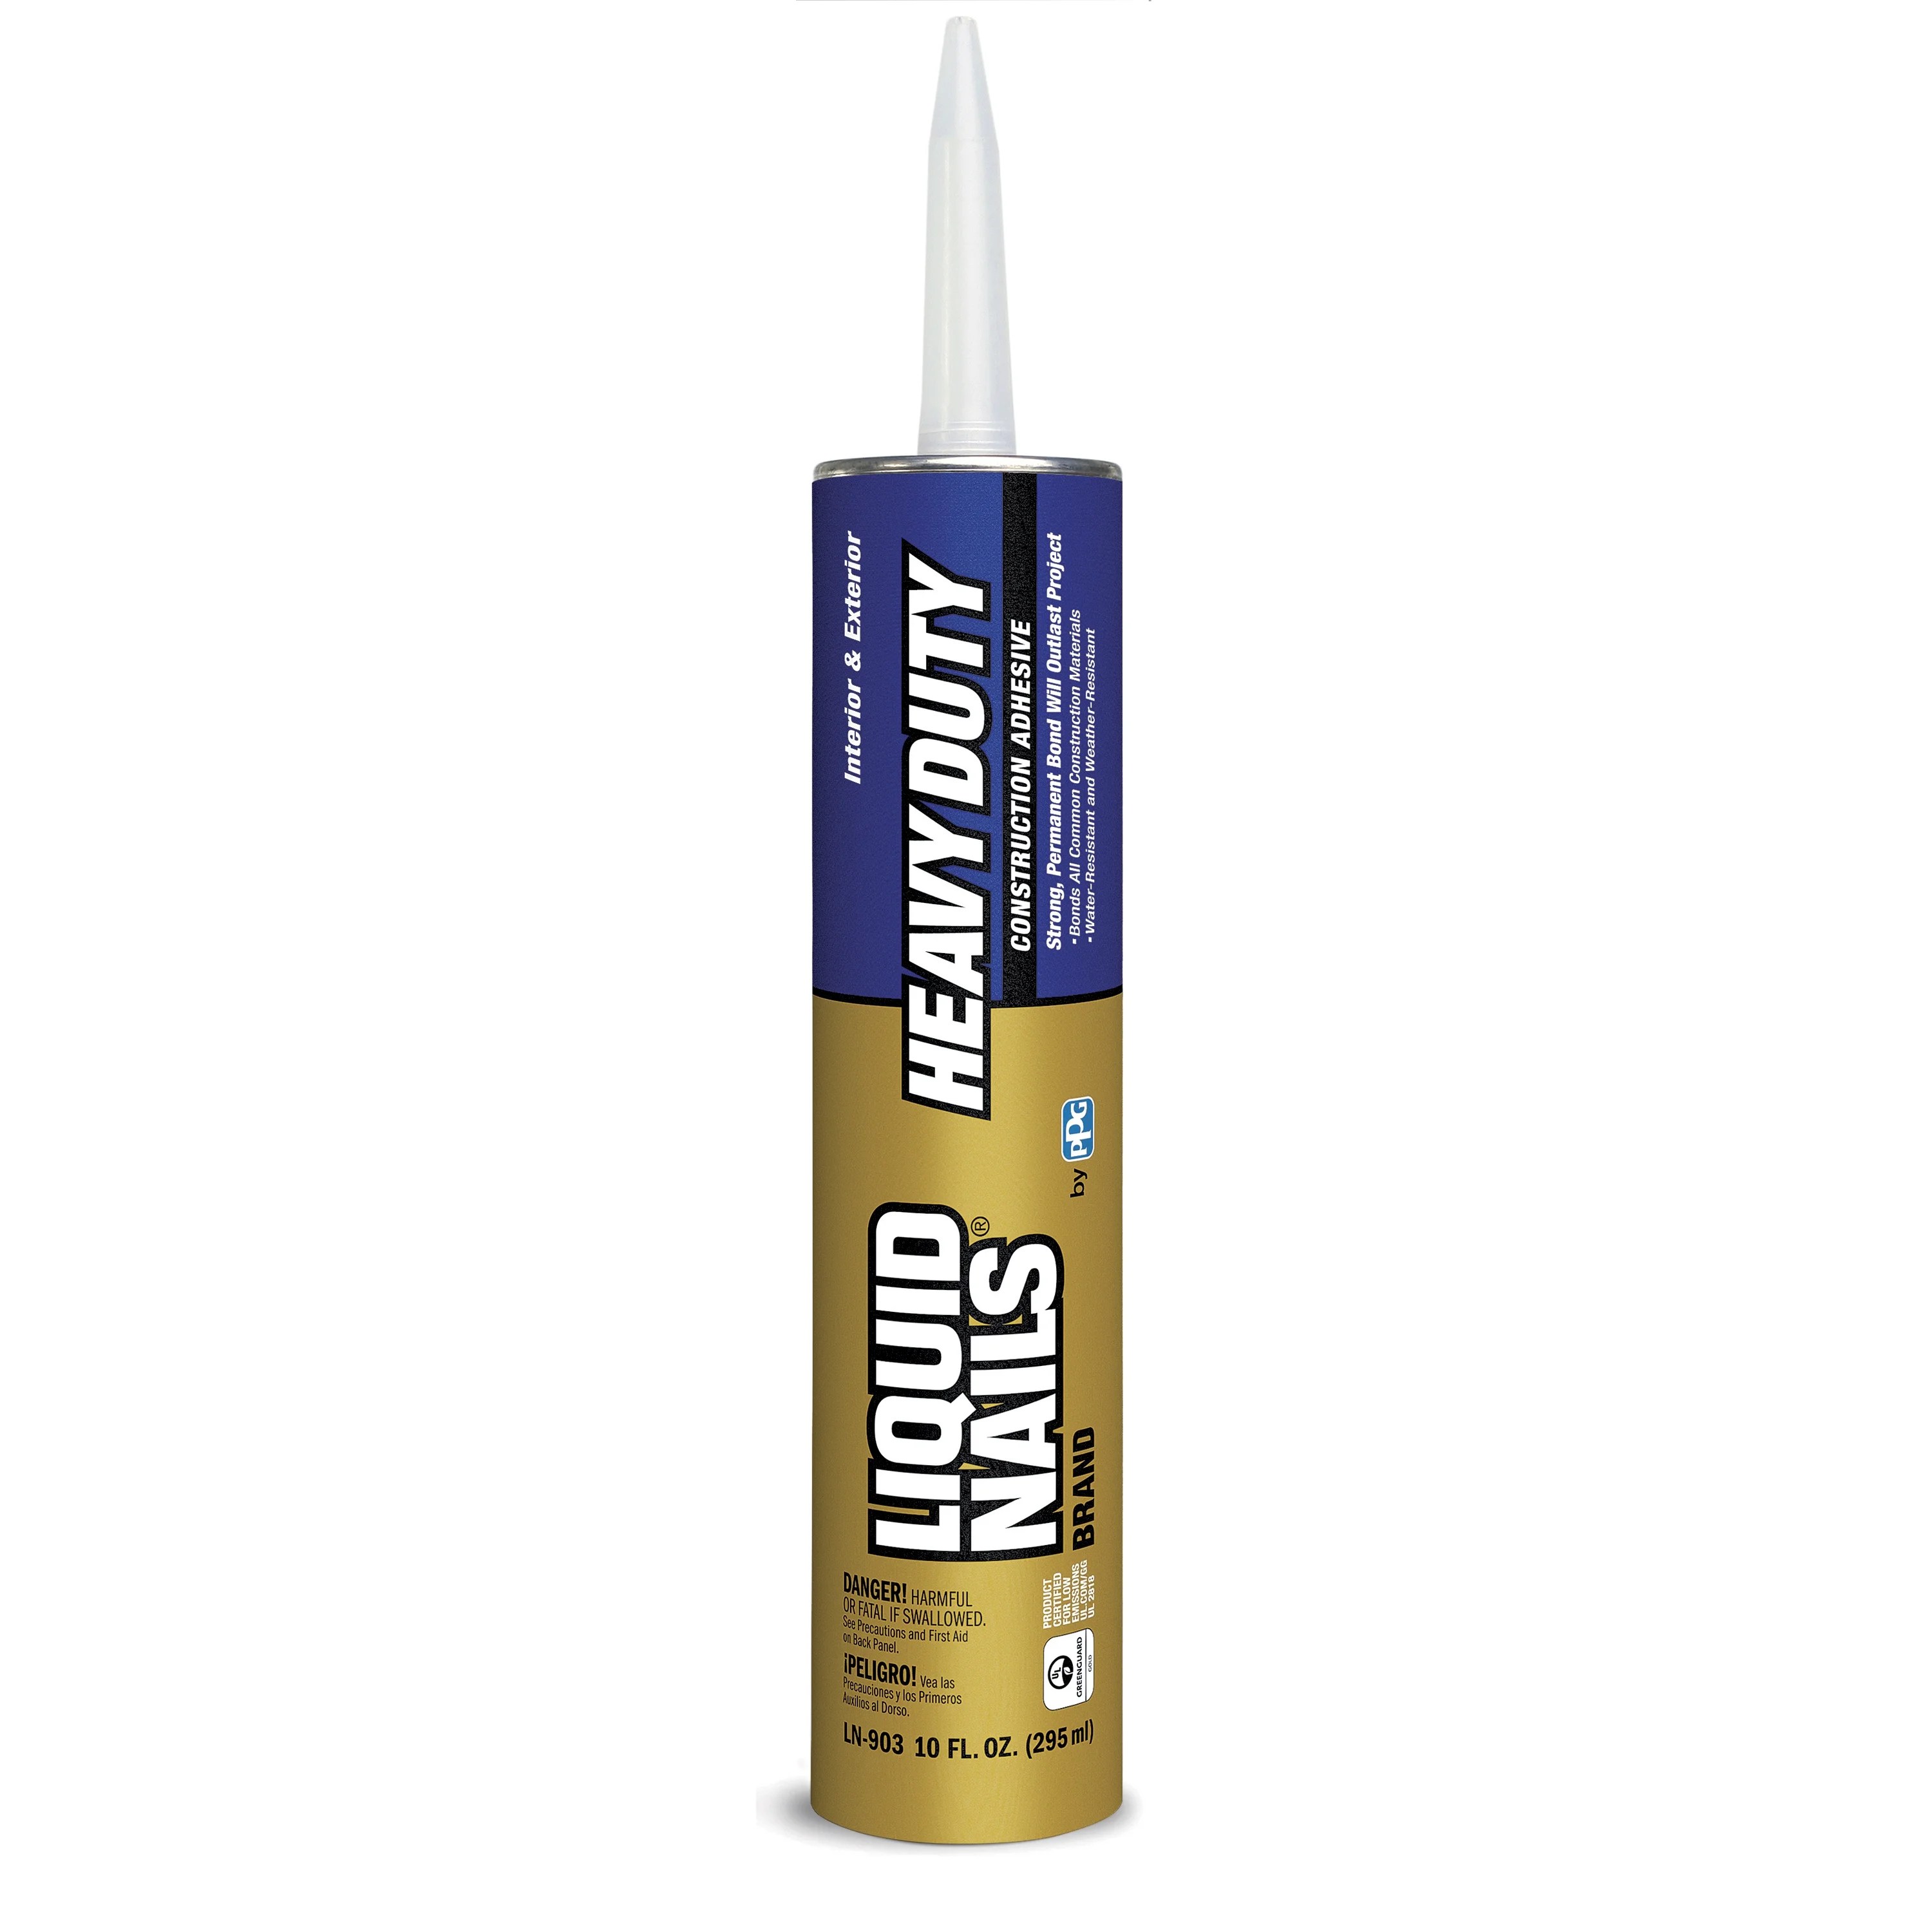
- Liquid Nails Heavy Duty Construction Adhesive: Ideal for heavy materials, this adhesive provides a strong bond for construction projects.
- Liquid Nails Interior Construction Adhesive: Designed for indoor use, this adhesive is perfect for bonding wood, drywall, and other materials.
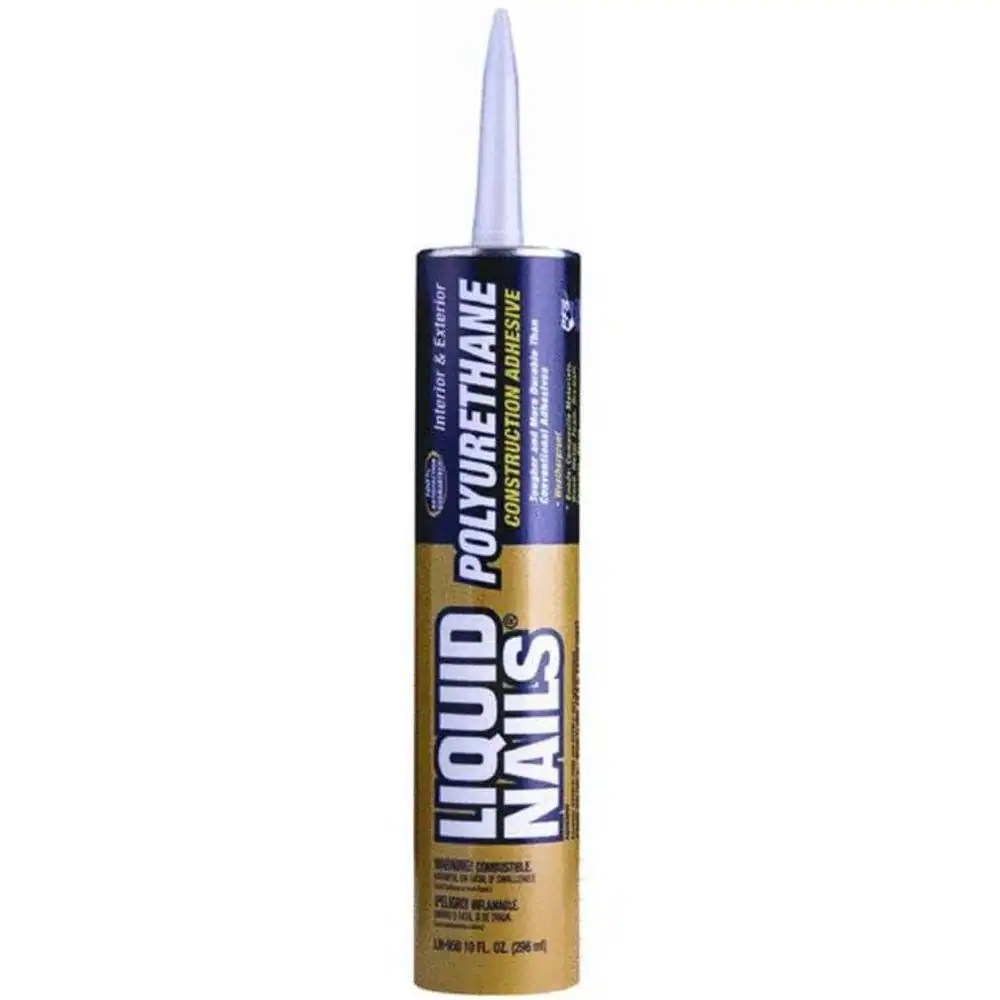
- Liquid Nails Exterior Construction Adhesive: This weather-resistant formula is suitable for outdoor projects, ensuring a strong bond even in harsh conditions.
- Liquid Nails Subfloor and Deck Adhesive: This specialized adhesive is designed for subfloor and decking applications, providing excellent grip and stability.
Common Applications of Liquid Nails
Liquid Nails can be used for a wide range of projects, including:
- Attaching trim and molding
- Bonding tiles and flooring materials
- Assembling furniture and cabinetry
- Securing metal and glass fixtures
- Outdoor projects, such as decking and fencing
Benefits of Using Liquid Nails
Using Liquid Nails offers several advantages:
- Strong Bond: Provides a durable and long-lasting bond.
- Versatility: Suitable for a variety of materials.
- Weather Resistance: Certain formulas are designed to withstand exposure to the elements.
- Easy Application: Comes in tubes that can be easily applied with a caulking gun.
How to Apply Liquid Nails
Applying Liquid Nails is straightforward, but following the right steps is crucial for optimal results. Here’s a step-by-step guide:
Safety Precautions When Using Liquid Nails
While Liquid Nails is a great tool, it’s essential to take safety precautions:
- Work in a well-ventilated area to avoid inhaling fumes.
- Wear gloves to protect your skin from the adhesive.
- Keep Liquid Nails away from children and pets.
- Follow the manufacturer's instructions for safe use.
Clean-Up and Storage Tips
Proper clean-up and storage can prolong the life of your Liquid Nails:
- Use a solvent like mineral spirits for clean-up before the adhesive cures.
- Store unused Liquid Nails in a cool, dry place, away from direct sunlight.
- Ensure the cap is tightly closed to prevent the adhesive from drying out.
Frequently Asked Questions
Here are some common questions about Liquid Nails:
1. Can Liquid Nails be used on wet surfaces?
Liquid Nails is not recommended for use on wet surfaces, as it may not bond effectively. Always ensure materials are dry before application.
2. How long does Liquid Nails take to dry?
Drying time can vary based on the product and environmental conditions, but most Liquid Nails adhesives require at least 24 hours to cure completely.
3. Is Liquid Nails waterproof?
Certain formulas of Liquid Nails are designed to be water-resistant or waterproof, making them suitable for outdoor use. Always check the label for specific details.
Conclusion
In summary, Liquid Nails is a versatile and powerful adhesive that can be utilized for various applications. By understanding the different types of Liquid Nails, how to apply it, and safety precautions, you can confidently tackle any project. Remember to follow the manufacturer’s guidelines for the best results, and don’t hesitate to share your experiences or questions in the comments below!
For more tips and insights on home improvement and DIY projects, be sure to check out our other articles. Happy bonding!
Also Read
Article Recommendations
ncG1vNJzZmivp6x7tMHRr6CvmZynsrS71KuanqtemLyue9WiqZqko6q9pr7SrZirq2FlfK210K6gnWWelratv42hq6ak